How to Upgrade a Compact Espresso Machine's Steam Performance: Step-by-Step Tips to Boost Steam Power and Improve Milk Frothing
Introduction
Many coffee enthusiasts discover that a compact espresso machine delivers excellent pressure for extraction but often falls short when creating silky milk foam. This guide explains how to enhance steam output, achieve consistent temperature control, and produce barista‑quality microfoam without replacing the entire machine. Readers will learn practical adjustments, proper maintenance techniques, and a focused upgrade using a high‑quality steam nozzle. By following these instructions, one can transform a modest kitchen appliance into a reliable tool for latte art and cappuccino creation.
What You’ll Need
- A clean, lint‑free microfiber cloth for wiping the wand and surrounding surfaces.
- Two silicone sealing rings (the red and white rings supplied with the replacement nozzle).
- A small flat‑head screwdriver or a plastic prying tool for removing the original nozzle.
- Warm water and mild dish soap for cleaning the steam wand.
- KUCHZUBE Steam Nozzle – the recommended stainless‑steel upgrade.
Step 1 – Assess the Existing Steam Wand
Begin by inspecting the current steam wand for signs of wear, mineral buildup, or loose connections. Remove the wand from the machine only if the manufacturer permits disassembly; otherwise, keep the wand attached and focus on the tip. Observe the hole diameter; a typical compact machine uses a single 1 mm aperture, which may restrict steam flow. If the original tip appears corroded or the rubber seal feels brittle, replacement is advisable.
Step 2 – Prepare the Machine for Modification
Turn off the espresso machine and unplug it from the electrical outlet to avoid accidental activation. Allow the machine to cool for at least five minutes, ensuring that residual pressure has dissipated from the boiler. Place a soft towel underneath the wand to protect the countertop from water drips during the process. Gather the silicone rings and the replacement nozzle within easy reach.
Step 3 – Remove the Original Steam Nozzle
Using the flat‑head screwdriver, gently pry the original nozzle from its seating; many compact models secure the tip with a snap‑fit mechanism. Take care not to damage the surrounding metal housing, as this could cause leaks later. Once the nozzle is detached, discard any worn rubber gasket that accompanied it. Clean the exposed threads with a damp cloth to remove coffee residue and mineral deposits.
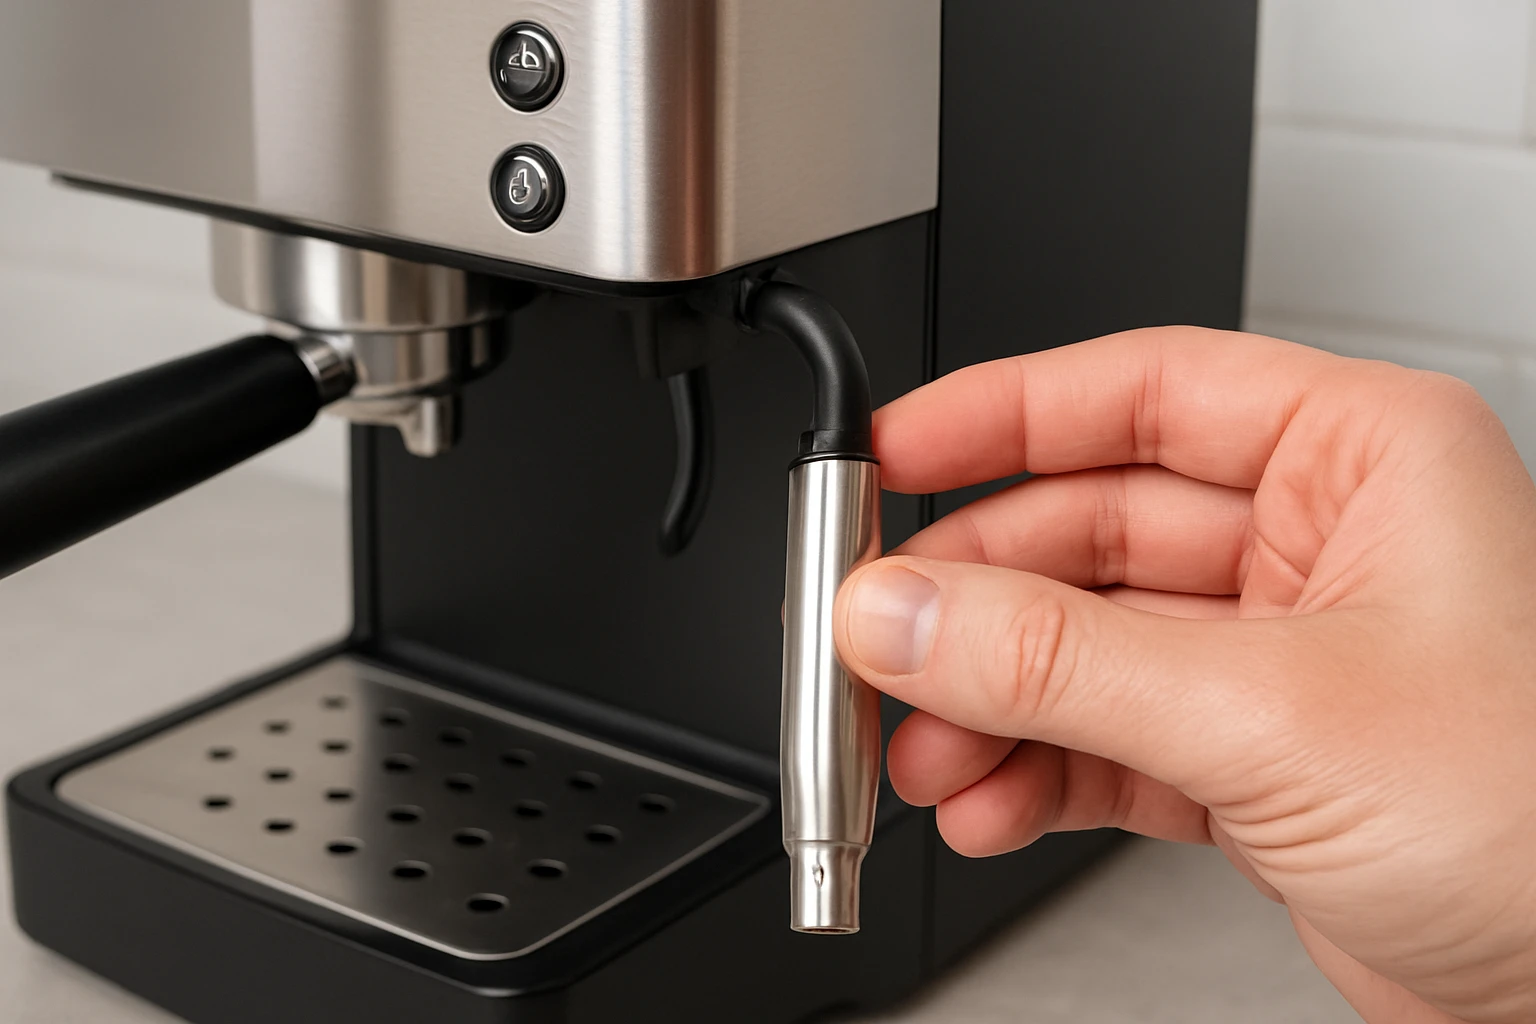
Step 4 – Install the KUCHZUBE Steam Nozzle
Take the KUCHZUBE Steam Nozzle and align the red silicone ring with the indentation on the wand. The stainless‑steel construction provides durability, anti‑rust properties, and a smoother steam flow compared with plastic alternatives. Snap the nozzle onto the wand, ensuring that the bump aligns with the groove for a secure fit. If the connection feels loose, replace the red ring with the thicker white silicone ring supplied in the package. This extra sealing element prevents steam leakage and maintains consistent pressure during frothing.
Step 5 – Verify Compatibility and Seal Integrity
After installation, re‑attach the machine to power and briefly activate the steam function for five seconds. Observe the steam output; a well‑sealed nozzle will emit a steady, vigorous stream without sputtering. Check for any moisture escaping around the base of the wand; if leaks are present, re‑seat the silicone ring and ensure the nozzle is fully snapped into place. The high‑quality stainless‑steel tip is designed for compatibility with Delonghi models such as EC260, EC680, EC685, and others, guaranteeing a proper fit for most compact espresso machines.
Step 6 – Optimize Steam Temperature and Pressure
Compact machines often have limited boiler capacity, which can cause temperature fluctuations during prolonged steaming. To mitigate this, limit the steaming time to 8‑10 seconds per milk batch and allow the machine to recover between cycles. The upgraded nozzle reduces moisture content in the steam, enabling the barista to achieve a softer, creamier foam with less heat exposure. This results in a more stable temperature for the milk, preserving its natural sweetness.
Step 7 – Master the Milk Frothing Technique
Fill a stainless‑steel pitcher with cold milk, preferably whole milk for richer foam. Submerge the steam wand tip just below the surface, positioning it at a slight angle to create a vortex. Activate the steam and listen for a gentle hissing sound; this indicates proper air incorporation. As the milk expands, gradually lower the pitcher to keep the tip near the surface, then fully immerse the wand to heat the milk evenly. The precise control offered by the KUCHZUBE nozzle allows the user to introduce air and heat in a balanced manner, producing microfoam suitable for latte art.
Tips & Pro Tips
- Always purge the steam wand before and after each use to prevent milk residue from clogging the nozzle.
- Descale the machine monthly using a citric‑acid solution; mineral buildup can diminish steam pressure over time.
- When frothing, use a thermometer to monitor milk temperature; ideal frothing temperature ranges between 55 °C and 60 °C.
- For extra foam stability, tap the pitcher gently on the counter after steaming to release large bubbles.
- Store the silicone rings in a dry environment; prolonged exposure to moisture can cause them to lose elasticity.
Troubleshooting
Problem: Steam output is weak after installing the new nozzle.
Solution: Verify that the silicone ring is seated correctly and that the nozzle is fully snapped into the wand. A misaligned ring can create a partial seal, reducing pressure.
Problem: Milk foam contains large bubbles and lacks silkiness.
Solution: Reduce the initial air‑introduction time and ensure the wand tip remains just below the milk surface. The stainless‑steel nozzle produces finer steam droplets, which, when used correctly, yield smoother foam.
Problem: Steam leaks from the base of the wand.
Solution: Disassemble the wand, clean the threads, and reinstall the nozzle with the appropriate silicone ring. Check for any debris that might prevent a tight seal.
Conclusion
Upgrading the steam nozzle of a compact espresso machine can dramatically improve steam power, temperature stability, and milk frothing quality. By following the step‑by‑step instructions, one can replace the original tip with the KUCHZUBE Steam Nozzle, a stainless‑steel component that offers durability, anti‑rust protection, and enhanced airflow. Consistent maintenance, proper technique, and occasional descaling will preserve the performance gains over the long term. Armed with these tools and knowledge, any coffee lover can enjoy café‑grade lattes and cappuccinos from a modest kitchen appliance.
Products Mentioned in This Guide
Frequently Asked Questions
How can I increase steam pressure on a compact espresso machine?
Replace the stock steam nozzle with a high‑flow nozzle and ensure the silicone sealing rings are correctly installed.
What tools are required to swap the steam nozzle?
A small flat‑head screwdriver or plastic prying tool, two silicone sealing rings, and a lint‑free microfiber cloth.
How often should I clean the steam wand to maintain performance?
Clean the wand after each use with warm, mildly soapy water and wipe it dry with a lint‑free cloth.
Can adjusting the boiler temperature improve milk frothing?
Yes, keeping the boiler between 130‑150 °F (55‑65 °C) helps produce smoother microfoam.
Will upgrading the steam nozzle affect espresso extraction pressure?
No, the nozzle upgrade only changes steam flow; extraction pressure remains unchanged.