How to Photograph a Compact Espresso Machine for Instagram in a Small Kitchen: Pro Tips for Stylish Coffee Shots
In this guide, one will discover how to transform a modest kitchen countertop into a visually compelling studio for espresso photography. The reader will learn to select appropriate lighting, arrange accessories, and edit images to achieve a polished Instagram feed. By following these professional yet accessible steps, one can consistently produce coffee shots that attract engagement and reflect a refined home‑barista aesthetic.
What You'll Need
- Compact espresso machine – CHULUX Slim Espresso Machine
- Smartphone or mirrorless camera with manual controls
- Tripod or stable surface for steady shooting
- Adjustable LED light panel or natural window light
- White or neutral‑colored backdrop (e.g., poster board)
- Reflector or white foam board to bounce light
- Small props such as a coffee cup, saucer, beans, and a spoon
- Photo editing app (e.g., Lightroom Mobile)
Step 1: Prepare the Workspace
Begin by clearing the countertop of clutter. A tidy surface emphasizes the espresso machine and prevents visual distraction. Place the CHULUX Slim Espresso Machine centrally, ensuring the stainless‑steel finish is visible. Because the machine measures only 5.5 inches in width, it fits comfortably even in narrow kitchens, allowing ample room for lighting equipment on either side.
Next, set up a neutral backdrop behind the machine. A matte white poster board reduces unwanted reflections and creates a clean canvas that highlights the machine's sleek design. Secure the board with painter's tape to avoid movement during shooting.
Step 2: Optimize Lighting
Lighting is the cornerstone of high‑quality coffee photography. If natural light is available, position the setup near a window that provides soft, diffused illumination. Otherwise, use an adjustable LED light panel set to 5600 K to mimic daylight. Place the light at a 45‑degree angle to the machine, slightly above eye level, to accentuate the crema on a freshly brewed espresso shot.
To eliminate harsh shadows, employ a reflector opposite the main light source. A white foam board works well to bounce light back onto the machine's body, revealing the brushed stainless texture without creating glare. Adjust the distance of the reflector until the shadows are softened but the machine's details remain crisp.
Step 3: Arrange Props for Storytelling
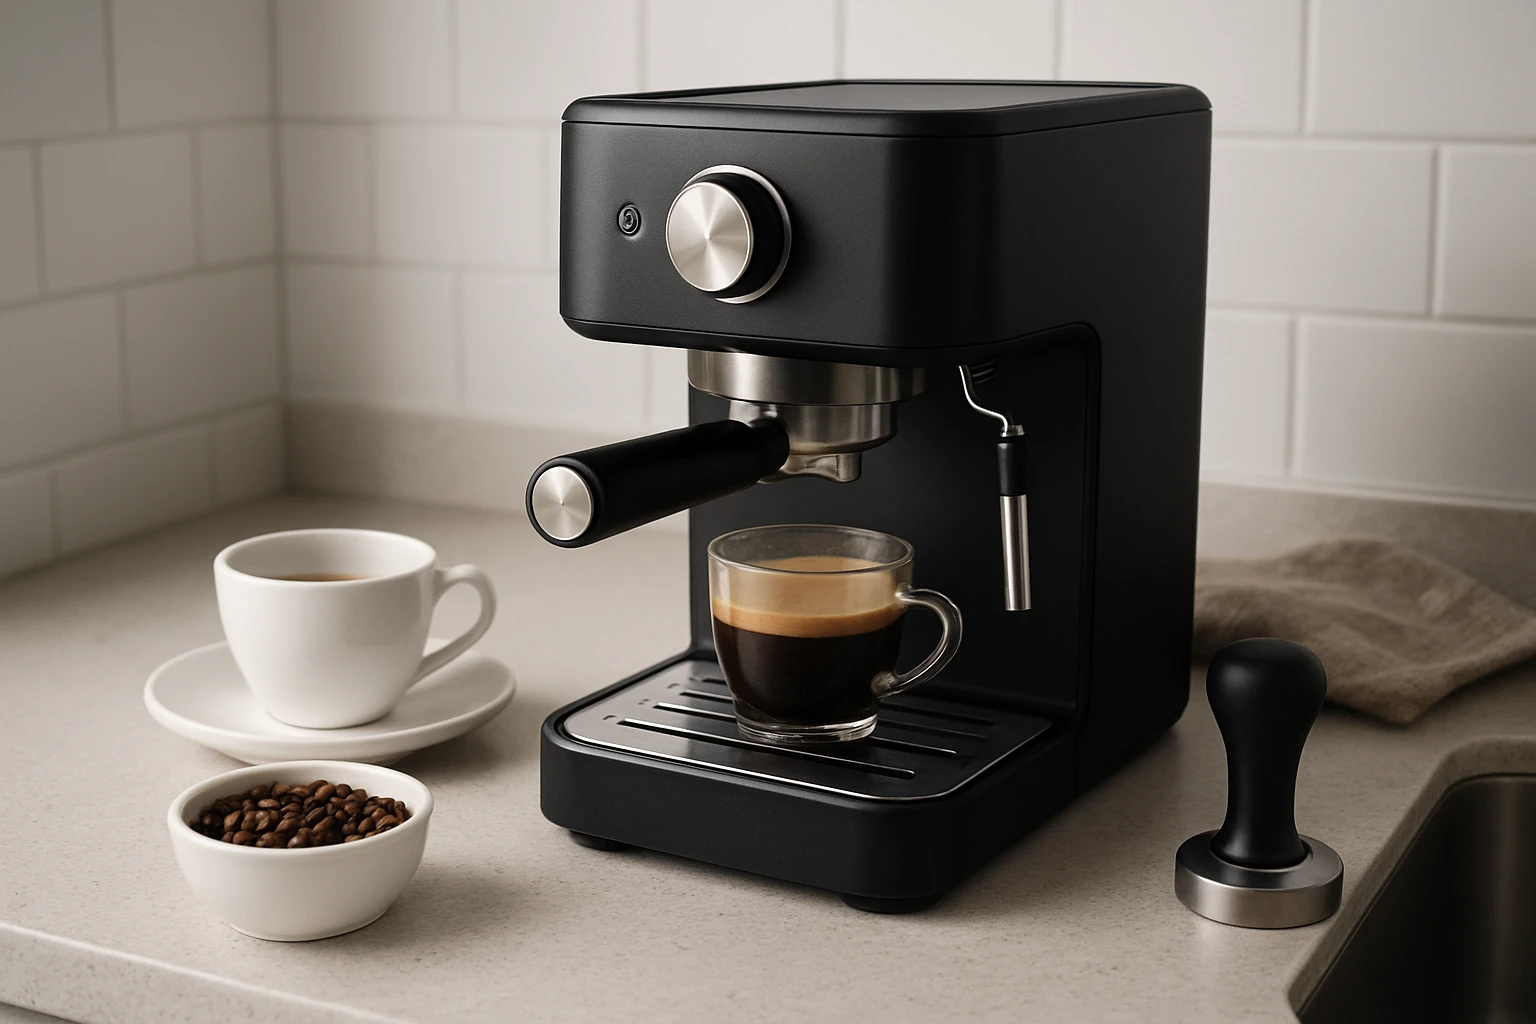
Strategic placement of accessories adds narrative depth to the image. Position a ceramic cup and saucer in the foreground, slightly offset to the left, to guide the viewer's eye toward the espresso machine. Sprinkle a few coffee beans near the cup to suggest freshness, and include a metal spoon for a touch of contrast.
Because the CHULUX machine features a built‑in steam wand, consider steaming milk and creating a small latte art pattern in a separate cup. Capture the microfoam texture as a secondary focal point; this demonstrates the machine's powerful steam capability and appeals to latte enthusiasts.
Step 4: Set Camera Parameters
Whether using a smartphone or a mirrorless camera, manual control over exposure yields consistent results. Set the ISO to 100–200 to maintain image clarity, and choose an aperture of f/4 to f/5.6 for a shallow depth of field that keeps the espresso machine sharp while gently blurring the background. Use a shutter speed of 1/125 s or faster to avoid motion blur when capturing steam.
If the camera permits, enable a white‑balance preset for daylight (5600 K) to match the LED panel. This prevents color casts that could make the stainless steel appear overly cool or warm.
Step 5: Capture Multiple Angles
Take a series of shots from various perspectives: a straight‑on view that showcases the control panel, a low angle that emphasizes the machine's height, and a close‑up of the portafilter and crema. The compact width of the CHULUX Slim Espresso Machine allows you to move around it easily, even in a confined kitchen.
Use a tripod to maintain consistent framing across shots. If a tripod is unavailable, rest the camera on a stable surface and employ the camera's timer function to reduce shake. Capture at least five images per angle to increase the likelihood of selecting a perfectly focused frame.
Step 6: Edit for Consistency and Impact
Import the selected photos into a photo‑editing app such as Lightroom Mobile. Begin by adjusting exposure to ensure the machine's metallic finish is neither underexposed nor blown out. Increase contrast slightly to define the edges of the steam wand and the cup.
Apply a subtle vignette to draw attention toward the center of the composition. Finally, enhance the saturation of the coffee beans and the latte foam by a modest 5–10 % to make the colors pop without appearing artificial. Export the final image at 1080 × 1080 px for optimal Instagram display.
Tips & Pro Tips
- Use a diffuser: Placing a thin white sheet over the LED panel softens the light, reducing harsh reflections on the stainless steel.
- Control steam: Allow the steam to settle for a few seconds before shooting; lingering vapor can obscure details.
- Consistent branding: Incorporate a small, unobtrusive logo or watermark in the corner to reinforce brand identity.
- Seasonal props: Swap the background or accessories to reflect holidays or seasons, keeping the feed fresh.
- Clean the machine: Wipe the exterior with a lint‑free cloth before each shoot to avoid fingerprints that distract from the visual appeal.
Troubleshooting
- Issue: Overexposed highlights on the machine.
Solution: Reduce the LED panel intensity or lower the exposure compensation by -0.5 to -1 stop. - Issue: Unwanted shadows on the backdrop.
Solution: Move the reflector closer or add a second light source at a lower angle. - Issue: Steam appears blurry.
Solution: Increase shutter speed to 1/250 s and ensure the focus point is on the steam wand tip.
Conclusion
By following the steps outlined above, one can consistently produce Instagram‑ready photographs of a compact espresso machine, even in a limited kitchen environment. The guide emphasizes preparation, lighting mastery, thoughtful prop placement, precise camera settings, and purposeful editing. Implementing these techniques will elevate a home‑barista's visual storytelling and attract a discerning audience.
Products Mentioned in This Guide
Frequently Asked Questions
What lighting setup works best for photographing a compact espresso machine in a small kitchen?
Use natural window light or an adjustable LED panel with a reflector or white foam board to soften shadows and highlight the machine's details.
How can I create a clean background without cluttering a tiny countertop?
Place a white or neutral‑colored poster board behind the espresso machine and keep props minimal for a sleek, Instagram‑ready look.
Do I need a special camera, or can I use my smartphone?
A smartphone with manual controls or a mirrorless camera on a tripod works fine; just adjust exposure and focus for sharp, well‑lit shots.
What props enhance coffee photography without overwhelming the scene?
Add a simple coffee cup, saucer, a few beans, and a spoon; keep colors complementary to maintain focus on the machine.
Which editing tools help polish espresso photos for Instagram?
Use Lightroom Mobile or a similar app to adjust brightness, contrast, and white balance, then apply a subtle vignette for a polished finish.