How to Calibrate PID on Compact Espresso Machines: Step‑by‑Step Guide to Precise Temperature Control and Consistent Shots
Introduction
In this guide, the reader will learn how to calibrate the PID (Proportional‑Integral‑Derivative) controller on compact espresso machines. Precise temperature control is the cornerstone of repeatable espresso extraction, because even a one‑degree deviation can alter flavor balance. By mastering PID calibration, one can achieve café‑quality consistency at home, reduce waste, and enjoy a more rewarding brewing experience.
The article explains the theory behind PID, outlines the tools required, walks through each adjustment step, and provides troubleshooting advice. Although the guide references specific products, the techniques are applicable to any machine that offers PID access.
What You’ll Need
- A compact espresso machine with PID control (e.g., Breville Bambino or Gevi Dual Boiler).
- Screwdrivers (Phillips and flat‑head) for accessing the control board.
- A stable power source and a quiet workspace.
- Optional: Sungaze Gaggia Classic PID Kit if upgrading a non‑PID Gaggia model.
Step‑by‑Step Instructions
1. Understand PID Basics
PID controllers regulate water temperature by continuously adjusting the heating element based on three parameters: proportional, integral, and derivative. The proportional term reacts to the current error, the integral term corrects accumulated error, and the derivative term anticipates future error. Properly tuned, the PID maintains a stable brew temperature within ±0.2 °C, which is essential for extracting the full spectrum of coffee solubles.
Machines such as the Breville Bambino already ship with factory‑tuned PID, but variations in voltage, ambient temperature, and wear can shift performance over time. Understanding the theory helps you interpret the readouts and make informed adjustments.
2. Gather the Required Tools
Before opening the machine, disconnect it from the mains and allow it to cool completely. Use a Phillips screwdriver to remove the rear or side panel; most compact models hide the control board behind a small access door. The Sungaze PID Kit includes a mounting bracket and wiring harness that simplify installation on the Gaggia Classic Evo Pro, reducing the risk of loose connections.
Keep a small container nearby for screws, and label any cables you disconnect. This organization prevents accidental mis‑wiring, which could damage the electronics.
3. Access the PID Settings Menu
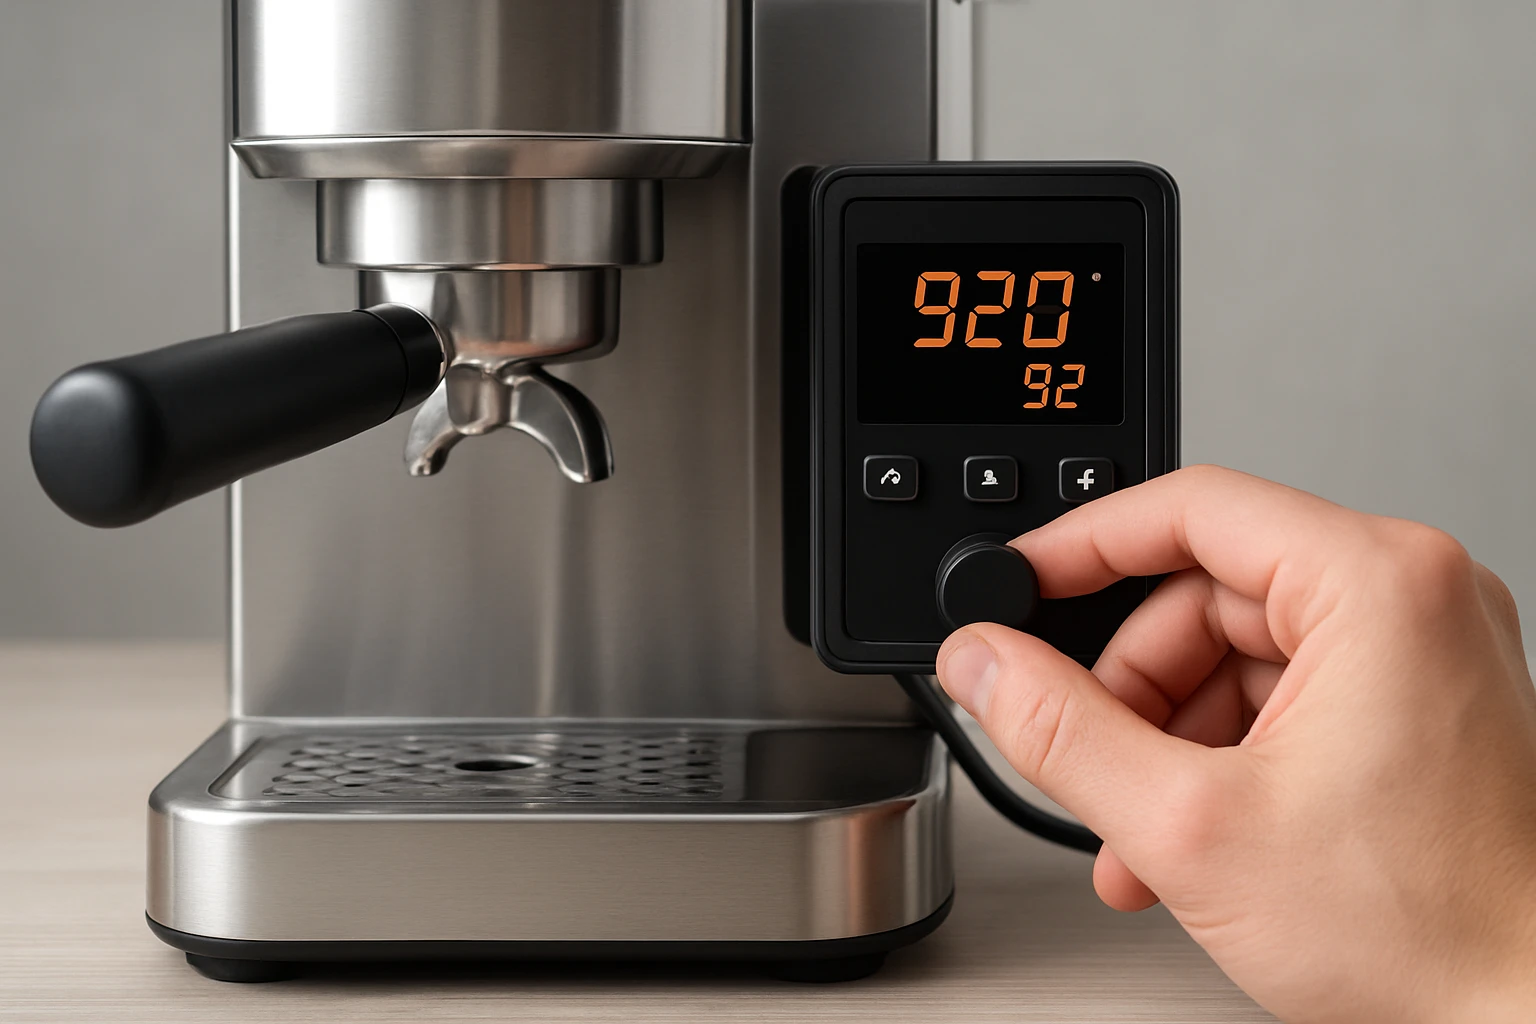
Power the machine and navigate to the service or calibration mode. On the Breville Bambino, hold the power button for five seconds until the LCD displays “PID Adjust”. The Gevi Dual Boiler presents a similar menu by pressing the “Menu” button three times. Consult the user manual for the exact key sequence; most manufacturers use a long‑press or a hidden button combination.
Once in the menu, you will see the current temperature setpoint (typically 93 °C for espresso) and the three PID parameters labeled P, I, and D. Write down these values before making changes.
4. Measure the Actual Brew Temperature
To calibrate accurately, you need a reference temperature. Place a calibrated digital thermometer probe into the portafilter basket, then run a short extraction without coffee. Record the temperature displayed by the thermometer at the moment the pump stops. If the reading differs from the machine’s displayed setpoint by more than 0.5 °C, adjustment is required.
Because the thermometer itself is an additional purchase, many users rely on the built‑in temperature readout of machines like the Gevi Dual Boiler, which reports temperature to the nearest 0.1 °C. This internal sensor is sufficiently accurate for routine calibration.
5. Adjust the PID Parameters
Begin with the proportional (P) value. Increase P by 0.1 if the temperature overshoots the setpoint, and decrease by 0.1 if the machine struggles to reach the target. After each change, run a test extraction and note the temperature trend.
If the temperature oscillates around the setpoint, adjust the integral (I) term. Increase I by 0.01 to reduce steady‑state error, but be cautious: too high an I value can cause sluggish response.
The derivative (D) term smooths rapid changes. Increase D by 0.01 if you observe sudden spikes when the heating element engages. Fine‑tune each parameter iteratively, allowing the machine to settle for at least 30 seconds between tests.
For the Sungaze PID Kit, the firmware provides a dedicated “Tune PID” screen that displays real‑time temperature graphs, making the process more visual.
6. Verify Shot Consistency
After achieving a stable temperature, pull a full double‑shot (approximately 36 g in 25‑30 seconds). Record the brew time, weight, and taste notes. Consistency across multiple shots indicates successful calibration.
If the shot is under‑extracted (sour) or over‑extracted (bitter), revisit the PID values. Often a minor tweak of the P or I parameter resolves the issue without altering grind size or dose.
7. Fine‑Tune and Save the Profile
Many machines allow you to store custom PID profiles. On the Breville Bambino, press and hold the “Save” button for three seconds to lock in the new settings. The Gevi Dual Boiler offers a “User Profile” slot that retains the calibrated values even after power loss.
Document the final P, I, and D numbers in a notebook or digital log. This record helps you revert to a known baseline if future adjustments are needed.
Tips & Pro Tips
- Perform calibration when the ambient temperature is stable; large swings (e.g., heating the kitchen) can skew results.
- Use distilled water in the boiler to prevent mineral buildup, which can affect temperature stability.
- For machines without a built‑in thermometer, the Sungaze PID Kit includes a high‑precision sensor that plugs directly into the control board.
- When upgrading a Gaggia Classic Evo Pro with the PID kit, follow the included wiring diagram carefully to avoid short circuits.
- Never exceed the manufacturer’s maximum temperature limit (usually 96 °C) to protect the boiler and group head.
Troubleshooting
- Temperature drifts after calibration: Check for loose wiring connections on the PID board; reseat any connectors.
- Machine fails to power on after installing the PID kit: Verify that the power supply is disconnected before installation and that the fuse is intact.
- Excessive noise from the pump: A mis‑adjusted P value can cause rapid cycling; lower the P parameter slightly.
Conclusion
Calibrating the PID on a compact espresso machine empowers the user to extract coffee with scientific precision, turning everyday brewing into a repeatable craft. By understanding PID fundamentals, gathering the right tools, and following the step‑by‑step adjustments outlined above, one can achieve stable temperatures, consistent shot quality, and ultimately a more enjoyable espresso experience. Remember to document your settings and revisit calibration periodically, especially after major maintenance or changes in water quality.
Products Mentioned in This Guide
Frequently Asked Questions
What is a PID controller and why is it important for espresso machines?
A PID controller regulates boiler temperature by adjusting heating power based on proportional, integral, and derivative calculations, ensuring stable brew temperatures for consistent espresso flavor.
How often should I calibrate the PID on my compact espresso machine?
Calibrate the PID whenever you notice temperature drift, after major maintenance, or roughly every 3–6 months for optimal performance.
What tools are needed to calibrate the PID on a compact espresso machine?
You’ll need a reliable thermometer or temperature probe, Phillips and flat‑head screwdrivers, and optionally a multimeter for checking sensor resistance.
What are the basic steps to calibrate the PID on a compact espresso machine?
Heat the machine to brewing temperature, measure the actual temperature, adjust the PID set‑point or offset in the control menu, and repeat until the displayed temperature matches the measured value within 0.5 °C.
How can I troubleshoot temperature inconsistencies after PID calibration?
Check sensor placement, verify the thermometer’s accuracy, ensure the PID parameters (P, I, D) are saved correctly, and inspect wiring for loose connections.