Introduction
One who owns a compact espresso machine often encounters performance issues that interfere with daily coffee rituals. This guide will teach the reader how to identify, diagnose, and resolve the most frequent problems that arise in small‑batch espresso makers. The reader will learn systematic inspection techniques, proper cleaning procedures, and the appropriate replacement parts to restore optimal extraction. By following these instructions, one can extend the lifespan of the machine, reduce service costs, and enjoy consistently high‑quality espresso.
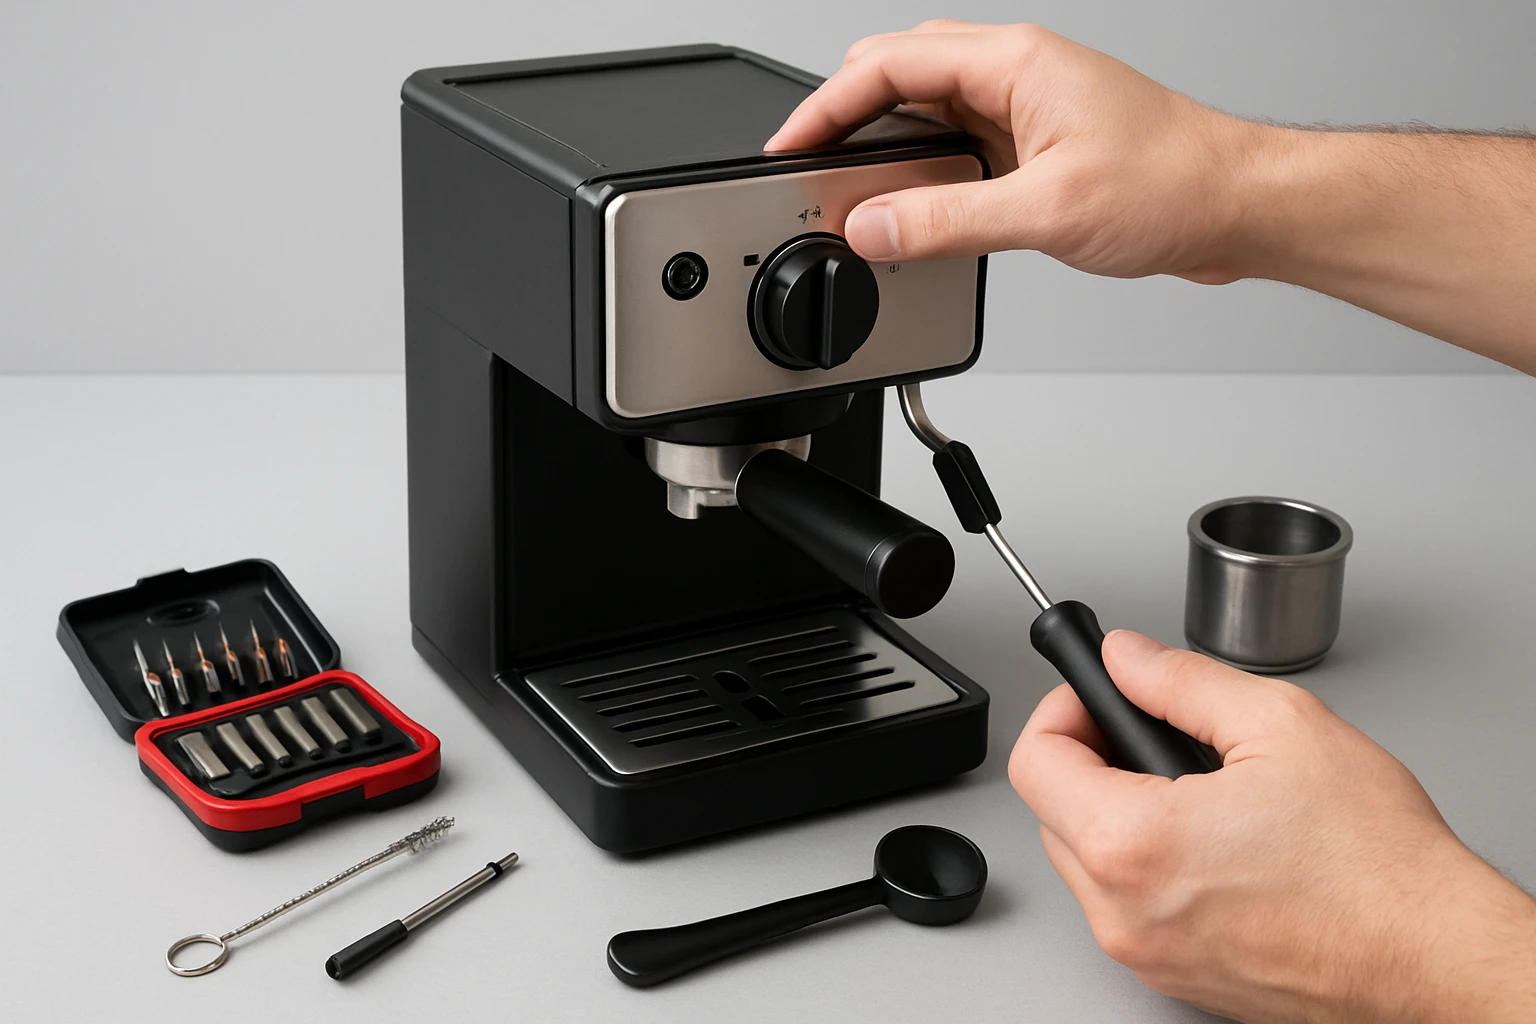
What You’ll Need
- Screwdriver set (flat‑head and Phillips)
- Soft cloths and non‑abrasive scrubbers
- Measuring cup for water
- Access to the recommended replacement tools listed below
Step 1: Verify Power and Water Supply
The first diagnostic action is to confirm that the machine receives stable electrical power and adequate water flow. One should inspect the power cord for visible damage, ensure the outlet provides the correct voltage, and test the switch by listening for an audible click. Next, remove the water reservoir, fill it with fresh filtered water, and reseat it securely; an improperly seated reservoir often triggers low‑pressure warnings. If the machine fails to power on, try a different outlet before proceeding to internal components.
Step 2: Clean the Brew Group and Filter
A clogged brew group or filter can produce weak crema, uneven extraction, or strange noises. Remove the portafilter and discard any used coffee grounds. Rinse the filter basket under warm running water, using a soft brush to dislodge residual oils. For machines that employ a stainless‑steel shower screen, gently scrub the screen with a non‑abrasive pad. After cleaning, reassemble the components and run a short water‑only cycle to flush remaining particles. This routine maintenance prevents buildup that could otherwise impair pressure regulation.
Step 3: Replace Worn Seals and Gaskets
Over time, rubber seals and metal gaskets lose elasticity, allowing steam to escape and pressure to drop. When a leak is detected around the grouphead or the water reservoir, one should replace the offending parts. For moka‑style compact machines, the CookiBlend Moka Pot Replacement Parts provide a complete set of handles, funnels, rubber rings, and filters. Each component is crafted from aluminum and durable plastic, ensuring a reliable fit for 1‑cup to 12‑cup models. The set costs $9.89, carries a 4.6‑star rating from 11 reviews, and arrives in stock, making it an economical solution for restoring seal integrity.
For machines based on Gaggia technology, the Gaggia Repair Kit includes a grouphead screen, gasket, and screw designed to replace worn components. The kit is priced at $22.25, holds a 4.1‑star rating from 69 reviews, and is stocked for immediate shipment. Installing the new gasket involves sliding it into the groove after removing the old one with a crosshead screwdriver; the process restores pressure stability and eliminates post‑brew leakage.
Step 4: Descale and Deep Clean the Internal System
Mineral deposits from hard water accumulate on the heating element and internal tubing, causing temperature fluctuations and reduced extraction efficiency. A regular descaling schedule, performed every three months, mitigates these effects. The Breville Cleaning Tablets are formulated specifically for Breville espresso machines, dissolving coffee oils and mineral residues without corroding metal parts. Each tablet dissolves in a water‑filled reservoir, and the machine runs a cleaning cycle lasting approximately 15 minutes. The eight‑tablet pack costs $14.50, enjoys a 4.8‑star rating from 5,498 reviews, and is readily available. Using the official tablets ensures compatibility and preserves the warranty.
Step 5: Test Pressure and Extraction Quality
After completing the previous steps, one should evaluate the machine’s performance by pulling a test shot. Place a freshly ground dose of coffee (approximately 7 grams for a single shot) into the portafilter, tamp evenly, and lock it into the grouphead. Initiate extraction and observe the flow: a proper shot delivers a steady stream resembling warm honey for 25‑30 seconds, producing a crema of 1‑2 millimeters. If the flow is too fast, the grind may be too coarse or the pressure regulator may still be compromised; if too slow, the grind may be too fine or a blockage may remain. Adjust the grind size and repeat until the desired extraction profile is achieved.
Tips & Pro Tips
- Always allow the machine to cool completely before disassembling internal components to avoid burns.
- Use filtered water to reduce mineral buildup; this practice extends the interval between descaling cycles.
- When installing new gaskets, ensure the seating surface is free of debris; a clean surface prevents premature leaks.
- Document the date of each maintenance action in a logbook; this record helps predict future service intervals.
- Consider a dedicated coffee grinder with consistent particle size distribution; uniform grind improves extraction stability.
Troubleshooting Common Problems
| Problem | Possible Cause | Solution |
|---|---|---|
| No Power | Faulty cord or tripped circuit | Inspect cord, test outlet, replace cord if damaged. |
| Leaking Water | Worn gasket or misaligned reservoir | Replace gasket with Gaggia Repair Kit or appropriate moka‑pot parts. |
| Weak Crema | Clogged grouphead or low pressure | Clean grouphead, replace screen with Gaggia kit, descale using Breville tablets. |
| Burnt Taste | Over‑extraction or stale coffee oils | Adjust grind, clean basket with Breville tablets, replace filter if necessary. |
Conclusion
One who follows the systematic approach outlined above will be equipped to diagnose and resolve the majority of issues that affect compact espresso machines. By verifying power, cleaning critical components, replacing worn seals with the CookiBlend Moka Pot Replacement Parts or Gaggia Repair Kit, and performing regular descaling with Breville Cleaning Tablets, the user can maintain consistent pressure, flavor, and reliability. Continued adherence to the maintenance schedule will minimize downtime and protect the investment in quality coffee preparation.
Products Mentioned in This Guide
Frequently Asked Questions
How can I tell if my compact espresso machine is getting power?
Check the outlet voltage, inspect the cord for damage, and listen for a click when you press the power switch.
What should I do if water isn’t flowing to the brew head?
Remove the reservoir, fill it with fresh water, ensure the inlet hose isn’t kinked, and verify the pump is engaged.
How often should I clean the brew group and steam wand?
Clean the brew group weekly and the steam wand after each use to prevent buildup and maintain extraction quality.
Which tools are required for basic repairs on a compact espresso machine?
A flat‑head and Phillips screwdriver set, soft non‑abrasive cloths, and a measuring cup for water are sufficient for most DIY fixes.
Can regular maintenance extend the lifespan of my espresso machine?
Yes, routine cleaning, timely part replacement, and checking power and water supply can reduce service costs and keep the machine performing longer.