How to Integrate a Compact Espresso Machine into a Galley Kitchen Layout: Space‑Saving Placement & Installation Tips
Introduction
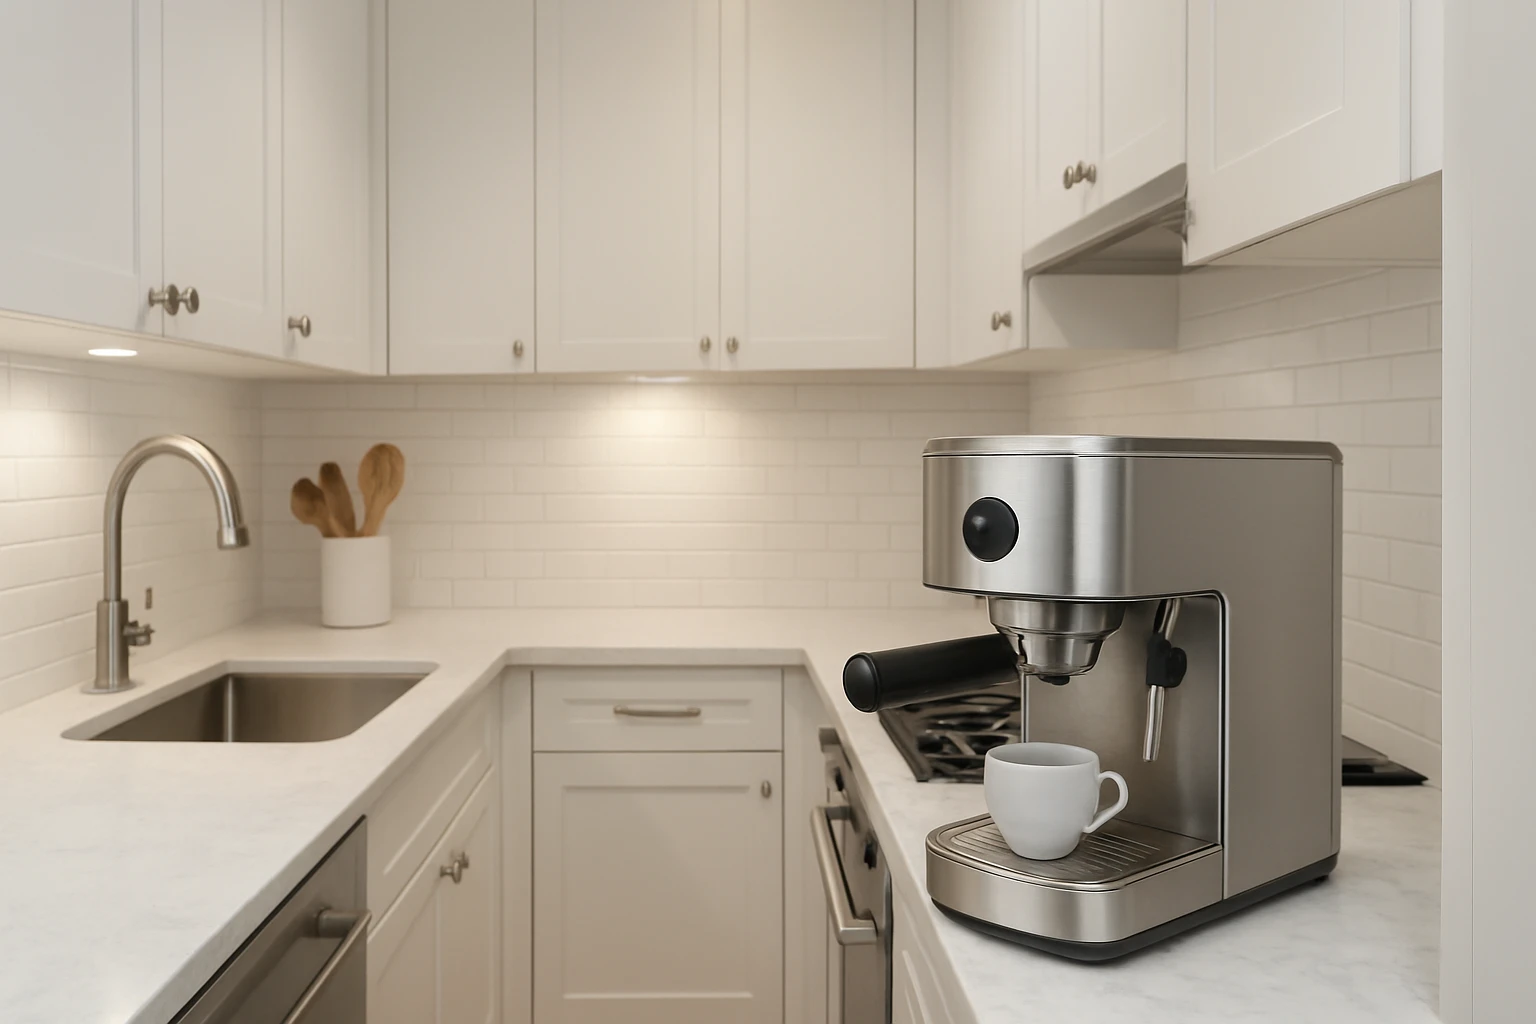
Integrating a high‑quality espresso machine into a galley kitchen presents a unique set of challenges. The limited width of a galley layout demands careful measurement, strategic positioning, and thoughtful selection of equipment. This guide will teach the reader how to assess available space, choose an appropriate machine, and perform a safe installation that preserves the efficiency of a narrow kitchen corridor. By following the steps, one will achieve a functional coffee station without compromising the flow of traffic or the aesthetic of the galley.
What You’ll Need
- COWSAR 20‑Bar Espresso Machine – compact, built‑in grinder, steam wand, and full accessory set.
- Breville Barista Express – an alternative for users who prefer a higher‑end, stainless‑steel model.
- Measuring tape, level, and pencil for layout planning.
- Drill and appropriate mounting hardware if wall‑mounting is desired.
- Dedicated 120 V power outlet with grounded plug.
- Flexible water line kit with quick‑connect fittings.
- Silicone gaskets, plumber’s tape, and a small bucket for spill control.
Step‑by‑Step Instructions
1. Assess the Available Space
Begin by measuring the length, depth, and height of the intended installation zone. In a typical galley, the countertop depth ranges from 12 to 18 inches. Record the clear width between the adjacent cabinets and the distance to any overhead cabinets. Ensure at least 2 inches of clearance behind the machine for ventilation and cable routing. Sketch a scaled diagram to visualize the placement and to confirm that the machine will not obstruct the primary traffic lane.
2. Choose the Appropriate Espresso Machine
If space is at a premium, the COWSAR 20‑Bar Espresso Machine offers a compact footprint while providing a built‑in conical burr grinder, PID temperature control, and a powerful steam wand. Priced at $249.18 with a 4.2‑star rating from 272 reviews, it delivers café‑quality espresso without requiring a separate grinder. The integrated grinder eliminates the need for additional countertop space, and the stainless‑steel construction resists corrosion in a humid kitchen environment.
For users who desire a more premium build and advanced dosing control, the Breville Barista Express is a suitable alternative. Although its price of $677.99 is higher, the machine’s precision conical burr grinder and digital temperature control (PID) provide consistent extraction. The 4.5‑star rating from over 27,000 reviews reflects its reliability in demanding home café setups.
3. Plan Electrical and Water Connections
Locate a grounded 120 V outlet within 12 inches of the planned machine position. If the existing outlet is shared with other appliances, consider installing a dedicated circuit to prevent overload during simultaneous brewing and steaming. Use a heavy‑gauge extension cord only as a temporary solution; permanent wiring should comply with local electrical codes.
For water supply, a flexible ½‑inch tubing kit with quick‑connect fittings allows a direct link from the sink’s cold‑water line to the machine’s reservoir inlet. Install a shut‑off valve on the line to facilitate maintenance without draining the entire system. Apply plumber’s tape to the threaded connections to ensure a leak‑free seal.
4. Install Mounting Brackets or Countertop Placement
When the galley includes a sturdy wall behind the countertop, wall‑mounting the espresso machine can free valuable countertop space. Use metal mounting brackets rated for at least 30 kg, securing them to wall studs with lag bolts. Verify levelness with a bubble level before tightening fully.
If wall‑mounting is not feasible, position the machine on a reinforced countertop segment. Place a silicone mat underneath to absorb vibrations and protect the surface from heat. Ensure the machine’s rear ventilation vents have at least 2 inches of clearance to avoid overheating.
5. Position the Machine for Optimal Workflow
Arrange the espresso machine so that the grinder, portafilter, and steam wand are easily reachable from the main work zone. A common ergonomic layout places the grinder on the left, the portafilter station in the center, and the steam wand on the right. This arrangement mirrors professional barista stations and minimizes hand crossing.
Keep the water reservoir within arm’s length to allow quick refilling. If the machine includes a built‑in water tank, as the COWSAR model does with a 95 oz capacity, the need for frequent refills is reduced, which is advantageous in a confined galley.
6. Connect Water Supply and Test
Attach the flexible water line to the machine’s inlet, ensuring the quick‑connect fitting clicks securely. Open the shut‑off valve slowly to allow water to fill the line, then check for drips at each connection point. Prime the machine by running a short water cycle without coffee grounds; this flushes air from the system and verifies proper flow.
After confirming water flow, power the machine and allow it to reach operating temperature. Perform a test brew using the built‑in grinder to ensure the grind size, dose, and extraction time are within the manufacturer’s specifications. Adjust the grind setting if the shot extracts too quickly or too slowly.
7. Final Adjustments and Calibration
Fine‑tune the pre‑infusion pressure and PID temperature settings to match the preferred coffee bean profile. The COWSAR machine offers low‑pressure pre‑infusion, which can be adjusted via the control panel to achieve a balanced extraction. Record the optimal settings for future reference.
Clean the steam wand by purging steam for a few seconds before each use, then wipe the exterior with a damp cloth. Regular cleaning prevents milk residue buildup, which can affect flavor and hygiene. Finally, secure all cables and water lines to keep the galley aisle clear of trip hazards.
Tips & Pro Tips
- Use a calibrated digital scale to measure coffee dose; consistent weight improves shot repeatability.
- Store beans in an airtight container and grind just before brewing to preserve aromatic oils.
- Periodically descale the machine using a citric‑acid solution to prevent mineral buildup, especially in hard‑water areas.
- Install a small under‑cabinet LED strip to illuminate the coffee station without adding heat.
- Label the water shut‑off valve for quick access during maintenance.
Troubleshooting
- No Power: Verify that the outlet is live with a voltage tester and that the machine’s plug is fully inserted.
- Weak Extraction: Check grind size; a finer setting increases resistance and pressure.
- Leaking Water: Tighten all water‑line connections and ensure plumber’s tape is applied evenly.
- Steam Wand Not Frothing: Allow the machine to reach full temperature, then purge the wand to remove trapped air.
Conclusion
By measuring accurately, selecting a space‑efficient espresso machine, and following the installation steps outlined above, one can create a functional coffee station within a galley kitchen. The process balances technical requirements with aesthetic considerations, resulting in a layout that supports both daily brewing and seamless movement through the narrow corridor. With proper maintenance and periodic calibration, the espresso setup will provide café‑quality beverages for years to come.
Products Mentioned in This Guide
Frequently Asked Questions
How do I measure the space for a compact espresso machine in a galley kitchen?
Use a measuring tape to record the width, depth, and height of the available slot, then add a few centimeters for ventilation and plumbing clearance.
What features should I look for when choosing a compact espresso machine for a narrow kitchen?
Prioritize a small footprint, built‑in grinder, easy‑to‑reach controls, and a steam wand that fits the countertop height.
Can I wall‑mount a compact espresso machine in a galley layout?
Yes, if the model includes mounting brackets; use a level, drill appropriate holes, and secure the machine to studs for stability.
What power requirements are needed for a compact espresso machine in a galley kitchen?
Most units need a dedicated 120‑V outlet with a grounded plug; check the machine’s wattage and avoid using extension cords.
How do I maintain a compact espresso machine to ensure long‑term performance?
Clean the group head, steam wand, and grinder daily, descale weekly according to the manufacturer’s guide, and wipe the exterior after each use.