Introduction
Understanding the quality of water that passes through an espresso machine is essential for both taste and health. Lead contamination can arise from aging pipes, municipal supplies, or even the machine’s internal components. This guide will teach the reader how to detect lead in espresso water, interpret the results, and take corrective actions. By following these steps, one can ensure safe, pure espresso without compromising flavor or safety.
What You’ll Need
- 20‑in‑1 Drinking Water Test Kit – $35.99, 4/5 rating (440 reviews)
- Instant 4‑in‑1 TDS Meter – price not listed, 4/5 rating (assumed)
- Distilled water (available at grocery stores)
- Clean glass container (minimum 250 ml)
- Paper towels and gloves
- Smartphone with the test kit’s companion app installed (optional but recommended)
Step 1: Prepare the Espresso Machine
Begin by turning off the machine and allowing it to cool for at least fifteen minutes to avoid burns. Remove any coffee grounds, filters, and detachable parts that come into direct contact with water. Rinse the water reservoir with warm tap water to eliminate surface debris, then dry it with a clean paper towel. This preparation ensures that the sample reflects the water supply rather than residual coffee oils or cleaning agents.
Step 2: Flush the System with Distilled Water
Fill the reservoir with distilled water, which contains no dissolved minerals or contaminants, and run a full brewing cycle without coffee. Repeat the flushing process two additional times to purge any remaining tap water that may contain lead. Collect the water that exits the group head into a clean glass container; this water will be used for testing. Using distilled water first provides a baseline and prevents cross‑contamination that could skew test results.
Step 3: Collect a Sample of Espresso‑Ready Water
After the final flush, fill the reservoir with the tap water you normally use for espresso. Run a short brew cycle—approximately 30 seconds—to draw water through the heating element and group head. Capture the output in the clean glass container, ensuring the sample volume is at least 100 ml, which is the minimum required for most test strips. This sample represents the exact water that will contact coffee grounds during normal operation.
Step 4: Perform the Lead Test with a Dedicated Kit
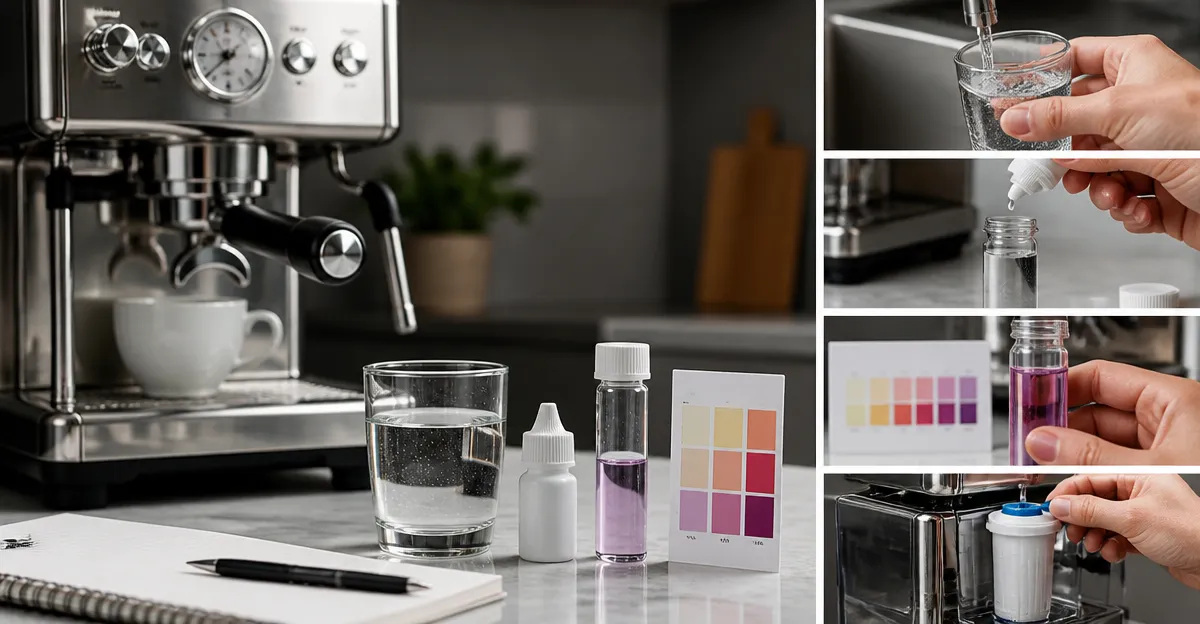
Open the 20‑in‑1 Drinking Water Test Kit and locate the lead‑specific test strip and the color‑comparison chart. Dip the strip into the collected espresso‑ready water for two seconds, then remove and place it on a flat surface. Wait the prescribed reaction time—usually thirty seconds—before comparing the strip color to the chart. The kit provides laboratory‑precision results, allowing detection of lead concentrations as low as 5 ppb, which exceeds the EPA’s action level of 15 ppb.
Step 5: Verify Overall Water Quality (Optional)
While the primary focus is lead, it is prudent to assess total dissolved solids (TDS) to gauge overall water purity. The Instant 4‑in‑1 TDS Meter measures TDS, electrical conductivity, and temperature within seconds. Submerge the probe in the same sample used for the lead test, press the single button, and read the digital display. A TDS reading below 150 ppm generally indicates water suitable for espresso extraction, while higher values may suggest mineral buildup that could affect taste and machine longevity.
Step 6: Interpret the Results
If the lead strip shows a color corresponding to a concentration below 5 ppb, the water is considered safe for espresso preparation. Should the reading fall between 5 ppb and 15 ppb, it is advisable to install a point‑of‑use filter certified for lead removal. Readings above 15 ppb require immediate action: replace the water source, install a certified filter, and retest after remediation. Document the results in a notebook or the kit’s companion app for future reference and trend analysis.
Step 7: Implement Corrective Measures
For households with elevated lead levels, a certified under‑sink reverse osmosis (RO) system or a countertop filter with activated carbon and ion‑exchange media is recommended. Replace the machine’s reservoir with filtered water and repeat the flushing procedure described in Step 2 to purge any residual lead. After remediation, repeat Steps 3 through 6 to confirm that lead concentrations have dropped to acceptable levels. Maintaining a regular testing schedule—once every three months—helps ensure ongoing safety.
Tips & Pro Tips
- Perform the lead test in a well‑lit area to improve color‑match accuracy.
- Wear disposable gloves to avoid contaminating the sample with skin oils.
- Store test strips in a cool, dry place; humidity can degrade their sensitivity.
- If the smartphone app is available, use it to capture a photo of the strip; the app can provide a more precise digital reading.
- Consider testing both the inlet water and the water after it passes through the espresso machine; discrepancies may indicate internal corrosion.
Troubleshooting
Problem: The lead strip shows an ambiguous color that falls between two chart values.
Solution: Use the companion app to capture an image of the strip; the software can interpolate the concentration more accurately. If the app is unavailable, repeat the test with a fresh strip to confirm consistency.
Problem: The TDS meter displays "ERR" or no reading.
Solution: Ensure the probe is clean and fully immersed; rinse with distilled water and dry before retesting. Replace the battery if the meter does not power on.
Conclusion
Testing for lead in espresso machine water is a straightforward process when the right tools and systematic steps are employed. By preparing the machine, collecting a representative sample, using a reliable lead test kit, and interpreting the results against established standards, one can safeguard both health and flavor. Regular monitoring, combined with appropriate filtration, ensures that every cup of espresso remains pure and enjoyable.
Products Mentioned in This Guide
Frequently Asked Questions
Why should I test espresso machine water for lead?
Lead can leach from pipes or machine components, posing health risks and affecting coffee flavor, so testing ensures safety and taste.
What is the easiest way to test for lead in espresso water at home?
Use a 20‑in‑1 drinking water test kit with its companion app; it provides a quick color‑change result for lead levels.
How often should I test my espresso machine’s water for lead?
Test every 3–6 months, or after any plumbing changes or if you notice a metallic taste.
Can a TDS meter detect lead in espresso water?
No, a TDS meter measures total dissolved solids but does not identify specific contaminants like lead.
What steps should I take if a lead test shows high levels?
Stop using the machine, flush the system with distilled water, replace affected filters or pipes, and retest before brewing again.